Torch Down Roofing
What Is Torch Down Roofing?
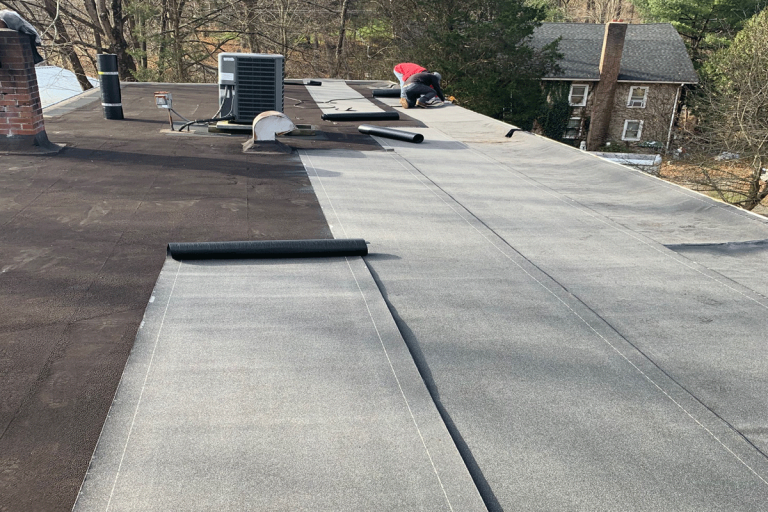
Torch down roofing is a type of flat or low-slope roofing system that involves applying layers of modified bitumen (asphalt material) to a roof surface using an open-flame torch to adhere the material. It is popular for commercial buildings, sheds, and flat-roof residential additions because of its durability, waterproofing ability, and resistance to UV and weather damage.
How much does it cost?
Torch down roofing typically costs between $4.00 and $8.50 per square foot installed, depending on the number of layers (2 or 3), roof size, tear-off requirements, and regional labor rates. For a standard 1,000 sq ft roof, expect to pay $4,000 to $8,500 total, including materials and professional labor. This type of roofing offers exceptional waterproofing, UV resistance, and a 15–30 year lifespan, making it ideal for flat or low-slope roofs. While upfront costs can be higher than alternatives, the long-term durability and minimal maintenance often deliver better value over time.
Can you do it yourself?
Yes, you can. Here is how:
Step 1: Prep the Roof
First, clean the roof really well. Sweep off all the dirt, dust, and old stuff using a roofing broom. If the surface is rough or bare, you might need to roll on some roofing primer—that helps the new material stick better.
Step 2: Measure and Line It Up
Use a tape measure and chalk line to mark where your first roll will go. You want to lay the rolls straight, with a little bit of overlap—about 3–4 inches—where one sheet meets the next.
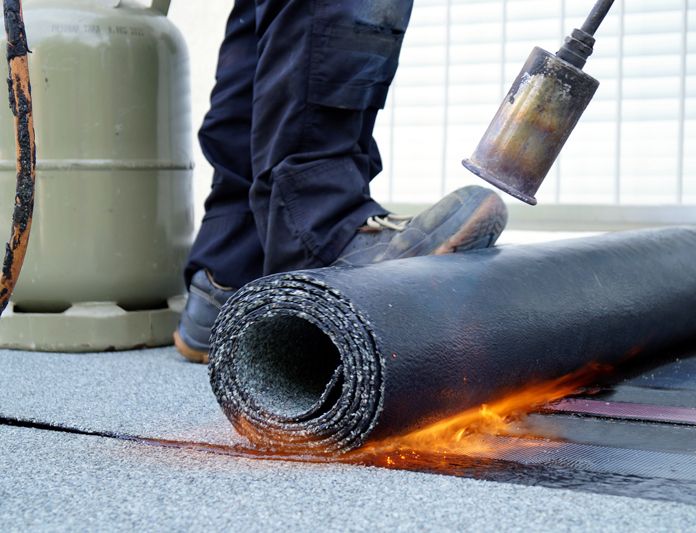
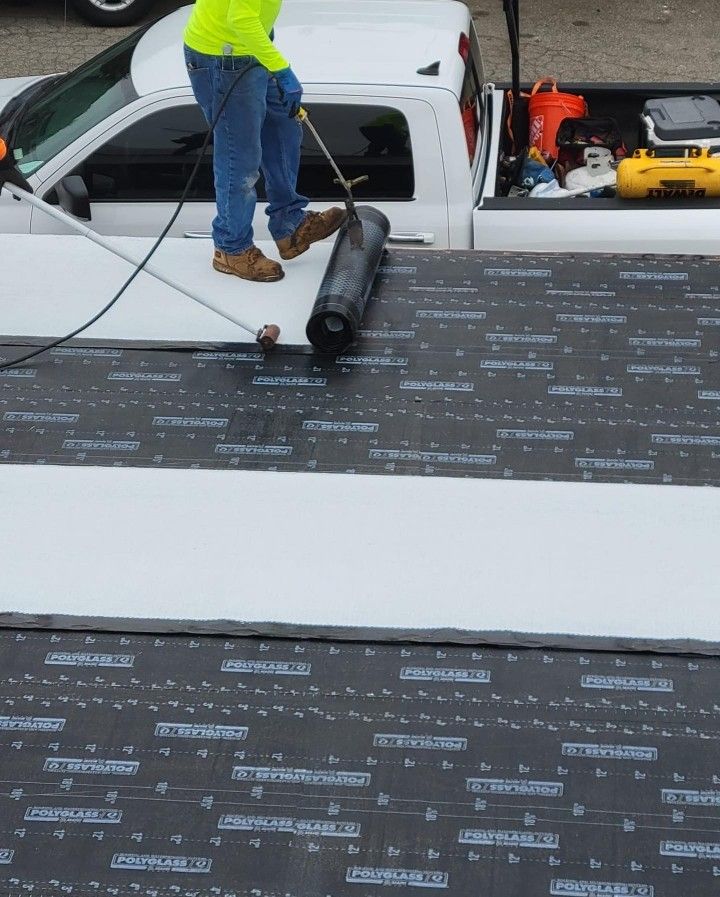
Step 3: Torch and Roll
Now the cool part. Hook up your roofing torch to the propane tank. Light it (carefully!) and heat the bottom of the bitumen roll as you slowly unroll it across the roof. You’re melting the underside so it sticks down like glue. One person torches while the other slowly rolls it forward.
Tip: Keep the flame moving—don’t stay in one spot too long or you’ll burn it.
Step 4: Press It Down Tight
After it’s laid down, go over it with a seam roller to press out air bubbles and make the seams tight. On big flat areas, you can also use a weighted roller to press the whole sheet.
Step 5: Do the Seams and Edges
Where the sheets overlap, heat those seams again with the torch and press them tight with the roller. Around the edges or pipes, you may need to cut smaller pieces and use metal flashing tools to make it all fit tight and waterproof.
Final Check: Safety and Seals
Double-check for any loose corners or air bubbles. Make sure your seams are sealed and everything’s stuck down. And always keep your fire extinguisher nearby just in case.